Showing posts with label DIY. Show all posts

Saturday, April 28, 2012

Trash To Treasure: Pallet Fence Project


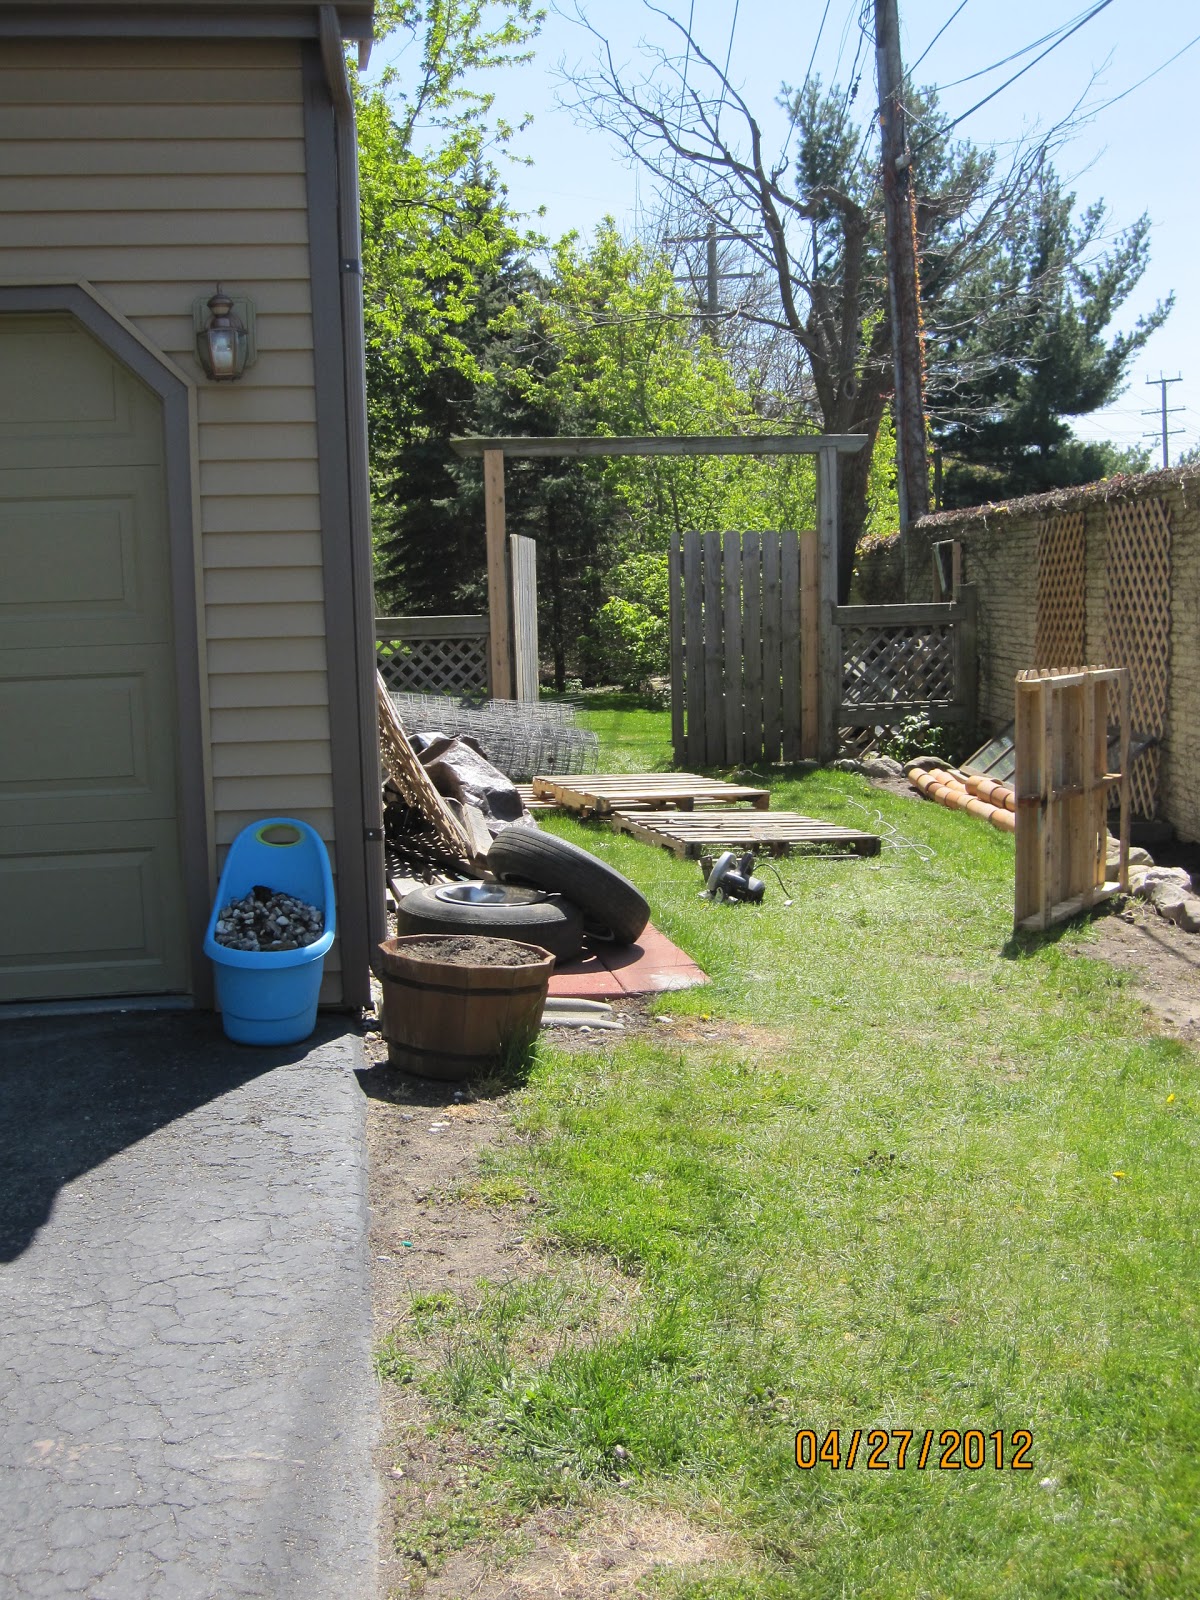
I am so tired of chasing my garbage cans all over the yard and down the street on a windy day. We've had a lot of windy days lately! Furthermore, the cans look horrible sitting next to the garage. Plus there's all those random building materials and a pair of old tires someone dumped in our back 40 next to the garage. We tried putting the tires in our dumpster while we were remodeling, but the dumpster dude who picked it up after our remodel wasn't fooled and he pulled the tires out and left them next to the garage door. That's where they still were to this morning. So what's a girl to do with all that hideousness and no money to spend?

I was poking around on Pinterest the other day and came across a really clever project done by Desiree Guy over at Camelot Art Creations. She simply used an old wood pallet and some paint to make a really cute fence. Wouldn't you know that very same day I saw a stack of pallets listed on Freecycle? So I of course hopped right over there and put them in my little clown car. Have I told you about my car?

I brought the pallets home and stacked them in the ugly zone with all the other random building materials beside my garage of course! My husband came home and rolled his eyes at me. He's not a big believer in the whole "trash to treasure" mind-set.

So yesterday was the perfect day, sunny and not too chilly. I spread the pallets I got from a fellow Freecycler out on the grass to pick out the best one for the job. I was looking for one with fairly even spacing of the face slats, not too wide, not too broken, etc. Once selected I set about gently prying out the nails holding the face slats to the top board. They needed convincing with a pry bar and hammer, but I had to be careful not to break or split the wood.


Next I marked off a nice even triangular corner on both sides of the top of each board and cut those with a saw. I would have used my jig saw, but remembered that I didn't have any blades. I keep forgetting to buy those. Don't you hate that? So, my crappy circular saw it was! Once all the corners were nipped off I put the top board back in between the front and back face boards and re-nailed it about 2 inches below its original position. Lastly I cut the back face boards flush with the horizontal board I just re-nailed. I stood the pallet upright and it actually looked like a picket fence! Just that small symbolic language of "dog-earred" picket is all it takes to see this old wood pallet as a fence. We are talking about 20 minutes of time invested thus far.


Now, to get the little "fence" to stand up, the easiest way was to first make sure the ground was more or less level. I left it a little bit of a slope downward away from the house to make sure any rainwater would flow away from the house and not pool up. However, I didn't want it to be a hugely noticeable slope. Then I took two  welded steel fence posts (the sort you bang into the ground with a big hammer) and well... banged them into the ground with a big hammer. A 5-lb baby sledge to be exact. From there, I stood the new picket fence section up against the t-posts and ran several screws through the holes in the metal posts into the back side of my former wood pallet turned fence.

Two coats of paint, including the green metal t-posts on the back side, really made the whole "pallet" idea disappear and it truly looks like it was never meant to be anything other than what it is right now. Lastly, I decided it needed a little more cuteness, so I hung three flower pots on little cuphooks on the face of the new fence and put some pretty pansies in them.

As for those flower pots, they were 3 medium sized terra cotta pots I had laying around from last summer. I painted them with some leftover paint from my house colors to make them color coordinate and tie the whole look together. I also had an extra solar landscaping path light, so I drilled a hole in the top corner of the fence and stuck the solar light into the hole like a fence post lantern. This is really great when I need to take the trash out at night so I can see the cans (no I don't have a light on the side of my house!).

That's it. I spent a total of ZERO dollars. I used only free stuff, and items I had on hand left over from other projects. The whole project including painting (which was the majority of the time) was about 2 hours start to finish, including putting all my tools away.

So, if you find yourself in possession of some wood pallets, I challenge you to come up with something great and send me a picture of what you made!

Friday, April 27, 2012

Rainy Day Gardening: Garden Markers!

As I stood with my face pressed to the glass looking longingly out my back door at the garden, the rain and cold kept me safely inside the house. What to do with myself? So I got to thinking I needed some new garden markers for my new patch of bliss out back!

I put on my rubber garden clogs, a jacket and grabbed a wire trash can and headed out back to collect some baseball-sized rocks. I was looking for smooth-ish ones, not jagged or lumpy. The rocks need to have pretty flat areas for painting on. This isn't a big chore around my house as the previous owners had some sort of rock fetish and must have bought a dozen truck loads of rock in various shapes and sizes from small gravel sized all the way up to boulders almost as big as me!

rocks ready to be painted

supplies I used: acrylic paint, water, rag, brushes, marker, clear lacquer
All I needed to do was clean them up a bit, so a quick wipe down with damp cloth and let them set to dry for a little while. Then I was ready to get started.

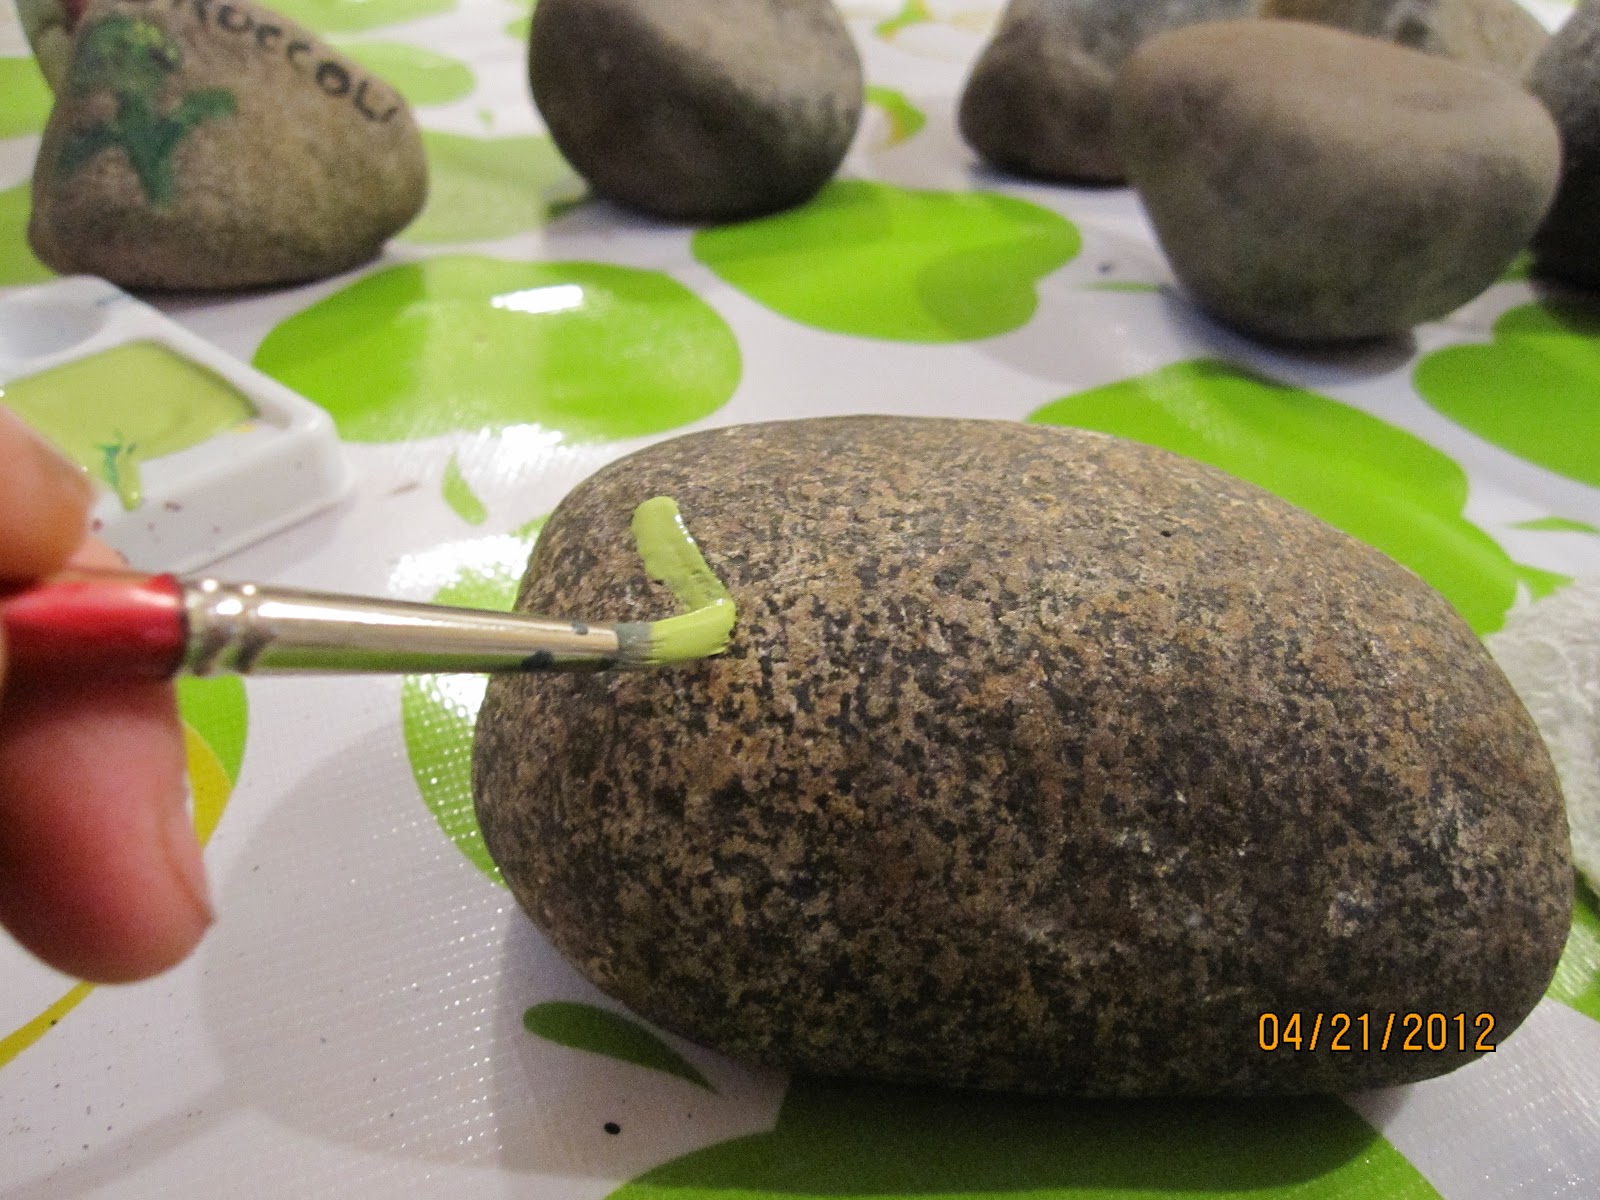
I began by painting rough shapes of the vegetable. You could just do words or anything you like, but don't be afraid of making "mistakes". They are just rocks. You could always bury them if they embarrass you! Or paint over them, or wash them off before the paint dries! Besides, the first coat will look pretty lame.

After the initial shape dries, go back with another color- maybe just slightly darker or lighter, and add a little shadow or highlight to begin defining shapes. For example on my "PEAS" rock, I started with a spring green pointed oval shape to represent the pod, then took a darker green and made round peas on top of the pod shape. You could make these very flat color combos so they look quite stylized and cartoon-like, or more gestural and less "perfect" like mine.

Starting is the hardest part
After the second color(s) dry a bit, take some black paint and a small brush to put the lettering on. I decided the black didn't really read well, so I outlined in white. Perhaps it would be easier to paint a white band on first and then put the lettering on top of that, but you wouldn't get the shape of the letters. Either way would be fine, the band of white would be much easier to do though.

Add lettering using a small brush
Once everything is completely dry, I took a fine point Sharpie (permanent) marker and drew in some details and outlines on the vegetable to really make it look the way I wanted it to. As you can see, the little painted veggies really begin to look nice at this point. They don't have to be perfect, but they should make you smile when you look at them rather than hang your head in shame. It's a fun project that serves a valuable purpose. It isn't rocket science or anything!

Two colors on the pea plus black lettering
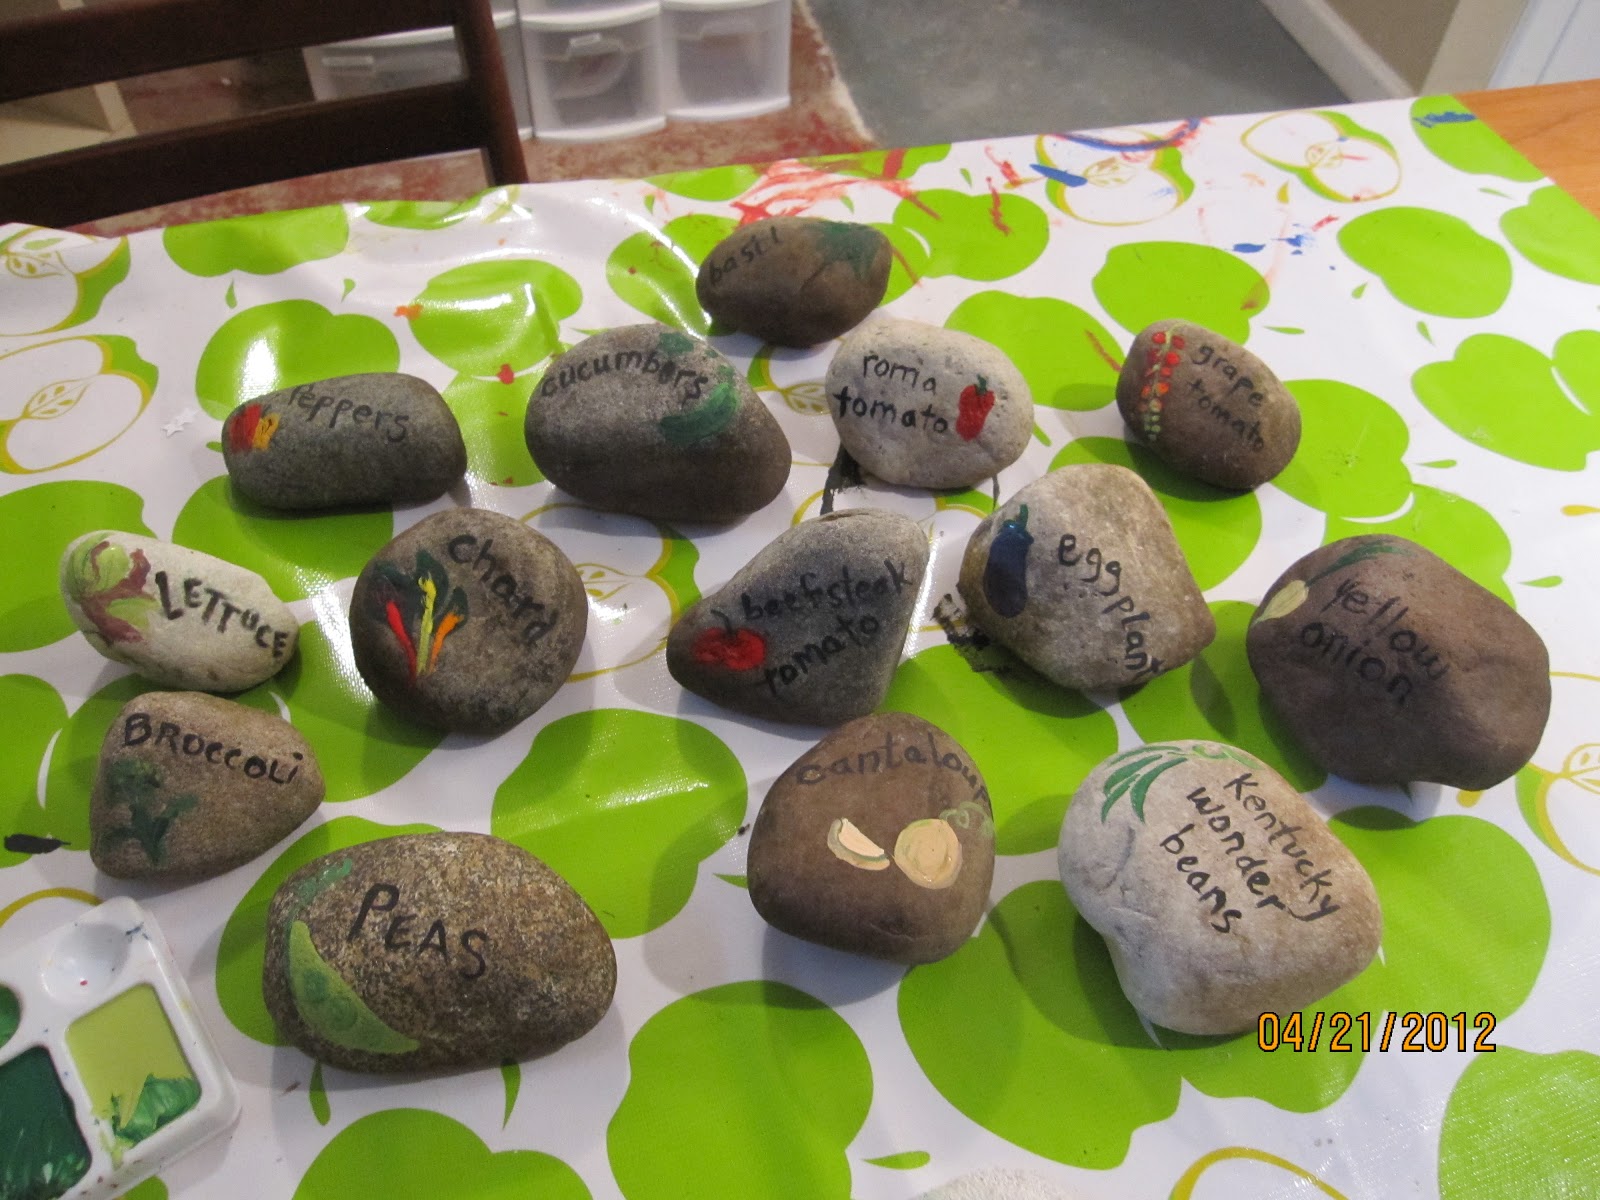
Here are all my rocks with finished letters and veggies. They look kind of BLAH.

adding white outlines to make the design "pop"
Sharpie marker makes adding fine details easy
painting complete
finished rocks with clear lacquer coating ready for the garden


To complete the job I took the rocks back outside once the sun came out and I put 3 coats of clear spray lacquer to preserve the paint job. These should hold up nicely for several years use.


Wednesday, April 4, 2012

Welcome to my home!

Welcome to Serendipity and Sunshine! 

ser·en·dip·i·ty

[ser-uhn-dip-i-tee] 
an aptitude for making desirable discoveries by accident.

There's always something going on at my house; good and bad, so stop in often to see what I'm up to. 

This is me. I just got my hair cut that day,
so I look better than usual.
Let's begin by having a somewhat formal introduction. I'm not a terribly formal person, in fact, I'm a regular smart-ass most of the time. Well, there's something. My name is Patricia Newport. I'm a wife, mother, animal lover, gardening fanatic, cooking and food enthusiast, lover of hand made, house remodeler, do-it-yourselfer, knitter, Pinterest addict, designer and probably several other things I can't think of to bore you with. 


For a while now I've been trying to figure out how to share my wide interests and, not to toot my own horn, but my talents, with other like-minded folks. Most people think they don't know how to do something, therefore they just don't do anything on their own. There is very little I wouldn't attempt to tackle in and around my home, so stick around and see what I'm screwing up making or doing!


Long story here, which I won't bore you with the details... mostly because my lawyer says I can't... I was out looking to rent a house (I can't say why), and I accidentally bought a house. This all happened in such a hurry, for reasons I can't mention of course, that we ended up with a house in need of a tremendous amount of TLC. Right. So, how bad can it be? Not too bad if you don't mind mold, subflooring as sturdy as a sheet of paper (not exaggerating here), or load-bearing walls gone A.W.O.L. Then there was endless amounts of leaky plumbing which also spewed forth oodles of sewage all over the basement floor. Only truly a problem in light of the fact someone got rid of all floor drains down there. An air conditioner that blew hot air, a refrigerator that ran like a river across the kitchen floor, hot electric wires laying around unattached inside of walls, roofs with holes, siding that was disintegrating before our very eyes, and the list goes on. 


What the heck did you buy that for?! That's what you are saying. I can hear you! Long story. No, we aren't stupid, mentally infirm or ill-informed. Yes, we got an inspector, he was blind, dumb, and asleep very competant. Like I said, it all happened so fast. Sort of a house buying aneurysm I guess you might say. I'm sticking with that.

Surprise! We won the beautification award!
So, we were forced (by the city in which we now own said lovely abode) to fix all of the above. Pronto. Only problem was there was no money left after accidentally buying the house (and other reasons I can't legally tell you about). So complicated. Short of moving my family out into the back yard to live in a tent, we called up the old attorney who invited the building inspector over for tea. The rest is thankfully history. We FINALLY got the house put back together and just this week passed our final inspection, and can now live safely in our home without fear of sitting on the toilet in a half-asleep 3am stupor and winding up on the basement floor floating in spewing sewage! Whew, that was a close one! 


Did I mention that my darling husband is very handy with a pry bar and jack hammer? Boy howdy, can he rip a house apart! And I'm a cracker-jack with tile and grout, and plumbing a toilet! So, stick around and learn. If you need to know how to tile your shower, or plumb in a "sharkbite" fitting, or install a toilet flange, just ask me!


This was my MasterChef entry.
Impressive, right?
Another skill of mine, cooking. For example- I was on MasterChef last season. Well, not actually ON the show. I didn't quite make it there. After 4 interview rounds I did meet Graham Elliot (celebrity judge) and he was very impressed with me. I could tell because he kept asking me for my recipe! Cheeky bugger. Don't suppose I'd get royalty payment for every bowl of my soup he sells if I gave it to him do you think? Doubtful. Anyway, I'll give you the whole story there some day- I might even give YOU the recipe! Great fun auditioning for a national TV show, something I'll never forget for sure. I may just try again and next time I'll win- mark my words! 


So, I like to cook. I am quite competent at it if I do say so myself. I'll be sharing recipes and such with you. When it comes to cooking I have two very different approaches. One is the part where I love to pull out all the stops and plan an elaborate dinner party, I will prep for a week, and then cook for two days straight! So fun. That sort of cooking doesn't happen a lot around Chez Newport! Who has time for that?! Thanksgiving is a truly "holy" day to me. I take it very seriously and prefer to do it all myself. I know. I'm nuts... That's what you are saying, I can hear you! 


Most days I like to pull together one solid home cooked meal that my kids don't bitch about too much and is more or less healthy. We often eat vegetarian, but not always. I try to keep things pretty low-fat too. I don't do much with pre-made convenience foods. They are expensive and usually taste terrible. I AM a huge fan of Trader Joe's, so I will mention them a lot. They will need to pay me royalties for sure! A decent meal should be easily attainable in less than one hour and be satisfactory to at least 3 out of 4 members of my family. Usually the 11 yr old complains and won't eat, but then he never does- so I just don't worry about it. His loss!


Then there's the gardening thing. Boy do I love that! I suck at house plants. Don't get me wrong here, I love the IDEA of them. I just get too bored with their needy little reality. I pamper them for a little while and then they all up and die because I got too busy plumbing in a new toilet. Ingrates! So, I really focus on the outdoor plant life. It's short and intense in Michigan most years, so I can pay extreme attention to it until it all dies. Kind of like me and house plants except the outdoor stuff is supposed to die at the end of the summer. I do the whole gamut here, we're talking annuals, perennials, fruits, veggies. The vegetable garden is my big passion and I have been known to write about that on my other blog (http://thegardenanticipated.blogspot.com/ ). I will try to be better about that, but may just talk about the garden here too. 
One day's harvest last summer. Who's gonna eat all that!? We did!


I also love knitting, crocheting, sewing, making, drawing, designing, etc. I recently broke my arm (another long story) so much of that is just off the radar- plus it's garden season for crying out loud! What do you want from me?! I do take on an odd craft project from time to time during the summer, but most of that lingers until rainy days or winter. Sit tight if you are looking for a lot of craft projects, or just follow me on Pinterest (http://pinterest.com/pchyphenn/). If you aren't invited to Pinterest you must be a loser. KIDDING! Give me a shout and I'll send you an invite silly!


I also have a couple of ongoing projects I like to call my "children". One is almost complete and will be going to college in a few months (please let her graduate). The other one is a long way from civilized and will take many more fretful, stressful days of training before I can unleash him on the world. You will hear much about these two "projects". :0)


Moose and Clover
There are critters. One on purpose- "Clover". She is my darling sweet little doggy. We also have "Moose" who is an orange tiger cat who decided that we would let him in and feed him. Now he won't leave. I'm not a cat person. Truly not. That being said, Moose is amusing to me. I don't understand him, nor does he understand us... but he's funny. We also have a horse named Suede. No, he doesn't live in our house! He lives in a barn a few miles down the road where we board him. 


So, that's pretty much what I'm about. I look forward to getting to know you!